


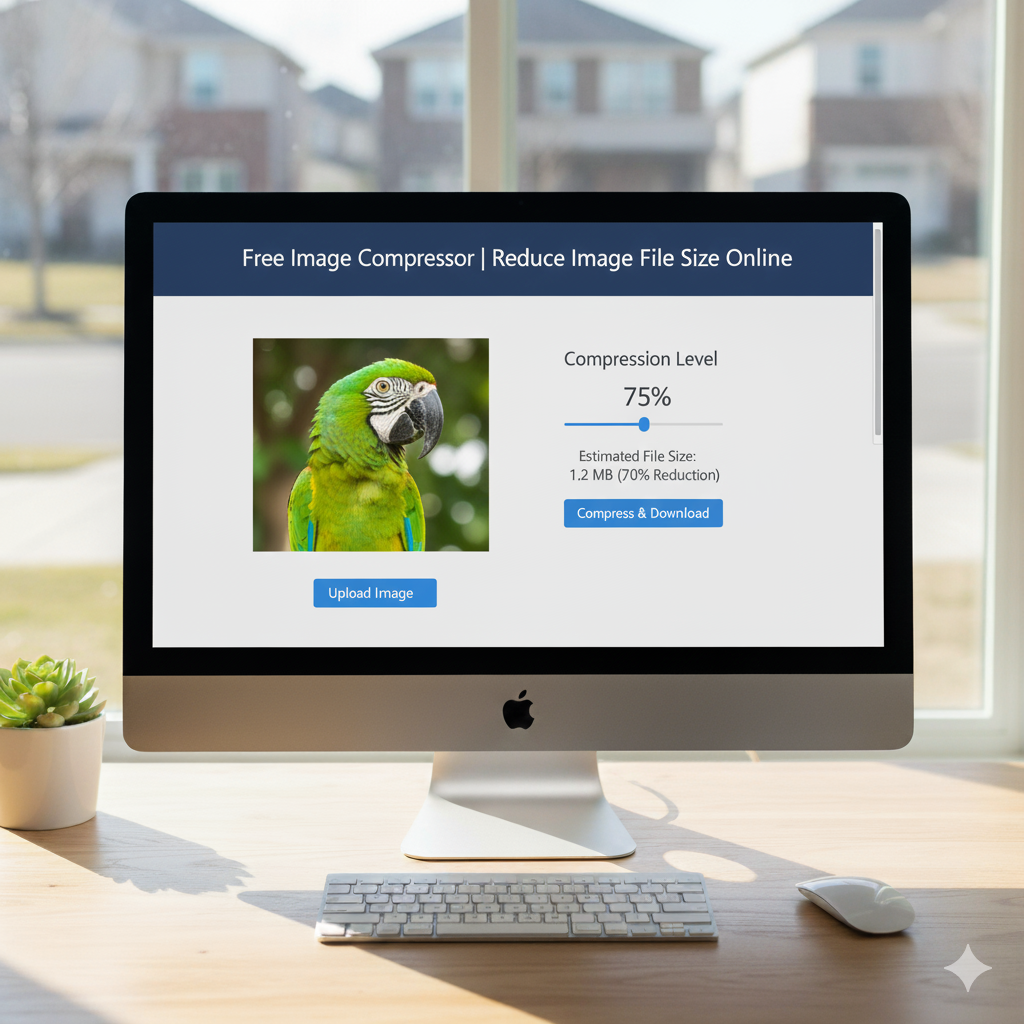
🗜️ Image Compressor
Reduce image file sizes while maintaining quality – perfect for web optimization
Drop your image here or click to browse
Supports JPG, PNG, GIF, WebP, and other common formats
Original Image
Compressed Image
Intro
Are your website pics loading slowly, hurting your place in search results? Got trouble emailing pics ’cause the files are too big? An image compressor is your fix. It’s a tool that shrinks file size while keeping pics looking good. Our free online image compressor helps your site go faster, saves space, and makes sharing pics easy.
What’s an Image Compressor?
It’s a tool that makes digital photo files smaller. It uses smart tricks to cut out stuff you don’t need without messing up the picture. It finds a good balance between file size and how good the picture looks. Different ways of shrinking files work best for different kinds of pics and what you’re using them for. It makes pics load faster but still look great.
Why Image Compression Matters Now
Big images cause issues all over the web. Big images slow down websites, making people leave fast. Search engines like Google drop slow sites lower in the results. Email often bounces back messages with huge attachments. People on phones waste their data downloading big photos.
Lossy vs. Lossless Compression
Knowing the types of compression helps you pick what’s right for each pic. Both shrink files, but in different ways.
What is Lossy Compression?
Lossy compression chops out some picture info to get smaller files. It cuts out details that it thinks people won’t miss. JPEG files often use this to make files way smaller. It’s best for photos and detailed pics with lots of colors.
What is Lossless Compression?
Lossless compression shrinks files without losing any info. It uses smart ways to store the same stuff in less space. PNG files often use this method to keep the picture perfect. It’s great for logos, graphics, and pics where every detail counts.
Good Things About Image Compression
Shrinking images gives you real pluses, at work and at home. Faster websites make people happier and can lead to more sales. Smaller images use less space and bandwidth, which saves money on hosting. Small files send quick by email. Social media shows smaller images better.
How to Compress Images : 3 Easy Steps
Our image compressor makes it easy for everyone to shrink images. The whole thing takes just a few minutes.
Step 1: Upload Your Images
Pick your pics by dragging them in or using the file thing. It can do many pics at once. JPG, PNG, and WebP all work.
Step 2: Tweak Settings
Pick how much you want to shrink the images. Look at the preview to see how the original and compressed versions looks different. Pick the file type you want.
Step 3: Download
See how much smaller the files are now. Download them one by one or all together in a ZIP file. Your original pics stay safe.
Good Settings
Different things need different shrinking methods and quality settings. Matching the compression to what you’re doing makes things best.
Website and Blog Images
Shrink images to 60-80% for good website speed. Try to get files between 50KB and 150KB for most website pics. Use WebP if you can, it’s good at shrinking files. Find a balance between quality and size so things still look good but load fast.
Social Media Sharing
Social media shrinks images when you upload them anyway. Shrink them to 70-85% beforehand to keep control. Make sure images fit the size requirements before you shrink them. This stops them from being compressed twice and looking bad.
Email and Messaging
Shrink images a lot, to 40-60% quality, for email. Aim for files under 1MB so they send and download fast. Put multiple images in a ZIP file. People like fast downloads, especially on phones.